Drawbotic
ProjectThis project aims to simulate the user-defined images on the web application and forward the movement commands to the real robot "Kuka KR 6 R900 Sixx". There are several main goals to complete: 1. Create a simple "industry 4.0" web application for the end-users. 2. Analyze, converts and optimize user input regarding robotics movement. 3. Setting up enviroment for simulator in RoboDK 4. Analyze and Optimize Robot movement 5. Use lines and arcs to draw picture. 6. Use blended movement for greater speed.
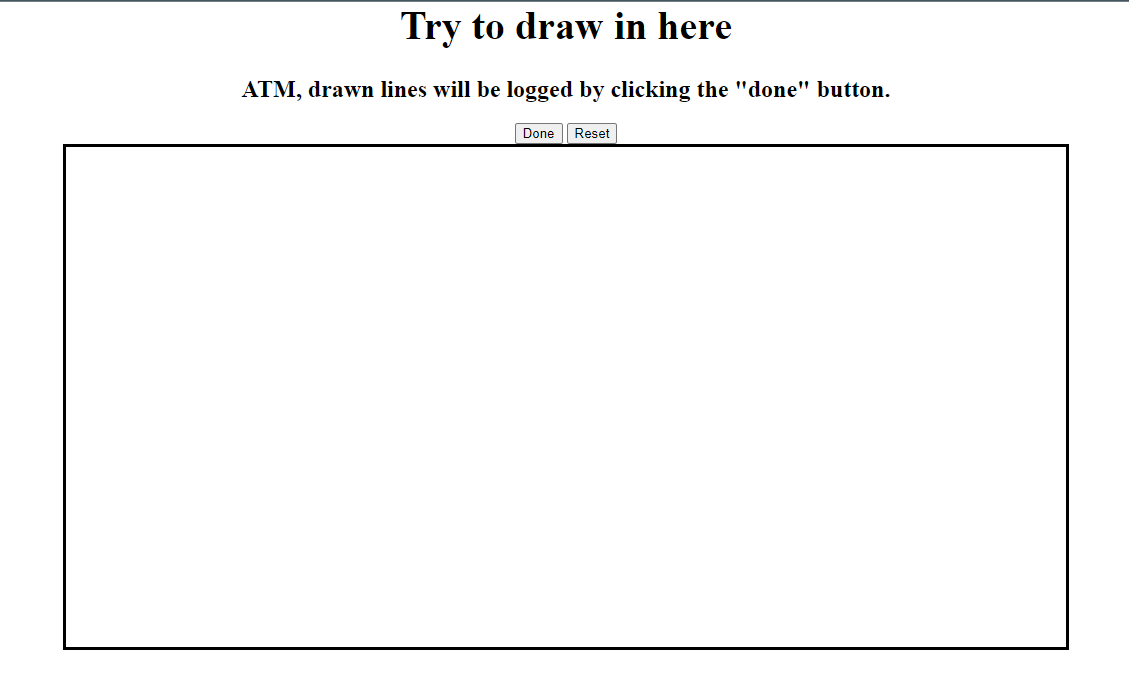
Enviroment setting of simulator RoboDk
The enviroment setting we took the example Drawing with a Robot we created an appropriate environment that contains several items:
- Board &image: as a canvas
- Blackboard 250 mm: an item to ensure the size of “ Board & image”
- Pixel : a pixel item
- Tool: a substitution of a real pen
- Frame Draw : reference coordinate system
- Kuka KR 6 R900 Sixx: a simulated robot arm.
Simulation Enviroment on RoboDK
Web application
The Web application was built by the Flask library. According to a simple Beginners Tutorial we were able to create a running web application.
After that, the next step was to listen to the mouse movements and display dragged lines as drawn in the browser. For that, we used a canvas element, which we set up with mouselisteners in a javascript script. Since the main program was written in python, and we knew python had strong tools like numpy to help with transforming coordinates, we did not transform the saved data in the javascript at all. Coordinates are saved as-given to an array and on buttonpress sent to the “webserver”, which is the python application. Large parts of the javascript are adapted from another tutorial we found, which also implements a canvas and sends all data back to python. A “reset” button which clears the canvas was added for ease of use.
Canvas on website
At the end of this process, the project consisted of a web application in python which provided a webpage with a drawable canvas. Per press of a button all coordinates, divided into different lines, were sent to the webserver and logged.
Coordinates to SVG
The coordinates at this point were Two-Dimensional and consisted of a large number of single datapoints, divided into multiple arrays of which each described the path of a single line. At first, we tried different ways to send this data to the robotic arm.
- We tried transforming the data into a single three-dimensional array of points. This was done by adding a new point before the first point of each array that was directly above that point. Another point was added behind the last point of each array in the same way. In that way we got a single list of coordinates that could be followed by the robotic arm to create the picture.
[[(X,Y)]] -> [(X,Y,Z)]
Sadly, it turned out that this way of moving the robotic arm was not ideal because it left not space for improvements and only allowed for slow movement.
- We tried to convert the coordinates into an SVG File via the svgpy Framework. This allowed us to remain in a twodimensional space for longer, and made it possible to later add more complex movements like arcs. In this first step, the Data was parsed into multiple linesegments that were collected in a SVG File.
[[(X,Y]] -> [<path d="M X,Y L X,Y L X,Y ...">]
This SVG could then parsed by the KUKA robot using code similar to the example “Drawing with a robot” provided in the RoboDK Framework.
We then added multiple optimizations, in special removing duplicate points and removing points that were already on a straight line between the points before and after it. This made sure that the path segments of the SVG were as large as possible, so the robot could move continuous for longer stretches of time.
Analyze and Optimize Robot movement
After successfully setting up the environment and importing the SVG file, we encountered issues with the data types of the target positions for the robot. Although we used tuple types to represent the drawing points in the coordinate system, we failed to comprehensively account for the input data types required by the robot. This oversight caused complications during the execution of the drawing process.
- The acceptable pose of the robot requires an array contains six elements, the former third elements are the coordinate value of x, y, z (mm) and the last third elements are the rotation of x, y, z (deg).
[x in mm,y in mm,z in mm, a in deg, b in deg, c in deg]
To ensure the robot adapts effectively to the drawing process, we implemented a fixed representation of its position.
- Adjustments to the Z-Axis
We set a fixed z-axis value to ensure that when the robot starts drawing, the tool center point (TCP) is always located precisely on the surface of the board.
- Orientation Fixation
The orientation of the three axes was fixed. To achieve this, we determined the target orientation by calculating it from the tool’s home position using forward kinematics. This step guarantees that the robot’s tool orientation aligns correctly.
- Target Orientation
After performing the necessary calculations, the pose of the target orientation was determined as:
Pose[ x in mm, y in mm, z in mm, -180, 0, -180]
We tried to initialize every drawing execution so a home target was set up in a primitive position of the robot. After been through every whole image drawing, the robot moves back to the home target and waits for another drawing command.
robot.MoveJ(home_joints)
In the robot’s movement procedure, we encountered an issue where the robot could not properly reach the surface of the item board. To address this, we introduced a new target point called target0_app, which was set with a z-axis value of 100 mm. This adjustment ensures that the robot recognizes a precise starting point and moves perpendicularly down to the board.
During the optimization of the drawing process, we faced another challenge: a mismatch between the sizes of the drawing board and the robot arm setup. This misalignment caused certain parts of drawings created on the web canvas to not appear correctly in the simulator.
To resolve this issue, we implemented several changes.
- Added a clear boundary to the web canvas to improve visual alignment.
- Decreased the size of the board.
- Adjusted the distance between the drawing board and the robot.
Lines and Arcs
At this point, Every Movement of the robot was a straight line. Curved lines were sampled into multiple short straight lines. In a next step we wanted to add Arcs to the possible Path segments in the SVG parsing.For a start, we only considered circular Arcs, omitting elliptical arcs completely. We can iterate along each line and create a circle from each point and it’s two predecessors (using this formula). If this circle has a radius that is not unreasonably big, we check for following points if they, too, are on that circle.
In this way we filter the given Dots and create Arc segments to the SVG. Line segments are only added if no fitting Arc is found.
<path d="M STARTPOINT A RADIUSX RADIUSY ROTATIONX LARGE_ARC CLOCKWISE ENDPOINT" stroke="red" fill="none"/>
To fully describe an Arc as given in the SVG standard, we need seven Stats:
- STARTPOINT: The starting point of the arc curve.
- RADIUSX: The radius of the circle
- RADIUSY: Since we at this point only accept circles, no ellipses, this second radius is always identical to RADIUSX
- ROTATIONX: For the same reason, the rotation of the ellipses is irrelevant and can always be 0
- LARGE_ARC: There are two possibilities move an arc around a circle. They can be differentiated by deciding if the arc spans more than half of the circle.
- CLOCKWISE: There are two possibilities to move the described arc curve, depending on which of the two mirroridentical possible circles touching the two points are used. This can be differentiated by deciding if the arc curve from start to finish moves clockwise or anticlockwise around the circle.
- ENDPOINT: The endpoint of the arc curve.
Since we already have the circle with its radius defined, we just need to use linear algebra to decide the two boolean parts LARGE_ARC and CLOCKWISE. They can be decided, respectively, by comparing the angle between the vectors from the centerpoint of the circle to the start and endpoints, and comparing the absolute position between the first and second found point to the position of the circle center.
Blended movement
For this sub-goal of the project, we first aimed to understand the definition of a drawing robot with blended movement. According to a discussion on the RoboDK forum titled Rounding Feature, we learned that manually using the “set rounding” instruction can smooth movements and prevent jerky results. Additionally, by watching a video provided by our instructor, we gained a better understanding of Blended Movement.However, during our implementation, we discovered that we could set the rounding accuracy programmatically by calling the function setRounding.
Robot.setRounding(rounding_mm)
The setRounding function has a default parameter value of -1, which enables point-to-point movements.
If smooth movements are desired, this parameter must be set to a value greater than 0. Consequently, we decided to increase the rounding accuracy to a specific parameter, C_DIS, which is utilized for the KUKA robot.
To verify our understanding, we conducted experimental testing as a necessary step. Two versions of the testing were recorded:
- one where the rounding accuracy was set to the default value of
-1 - another where the parameter was set to a value greater than
0.
As expected, the differences between the two testing versions were noticeable and distinguishable. The robot arm with the default rounding accuracy value moved considerably slower. When it reached one target, it would stop momentarily before proceeding to the next target. In contrast, the robot in the second version exhibited prompt and compact motion, moving smoothly from one target to the next.
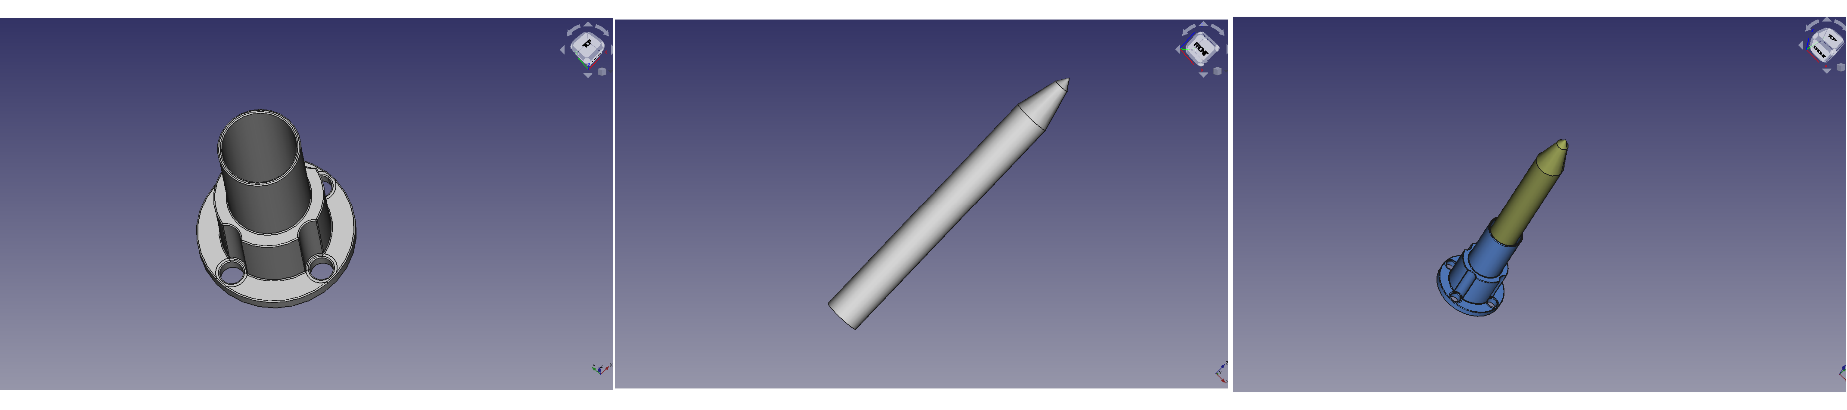
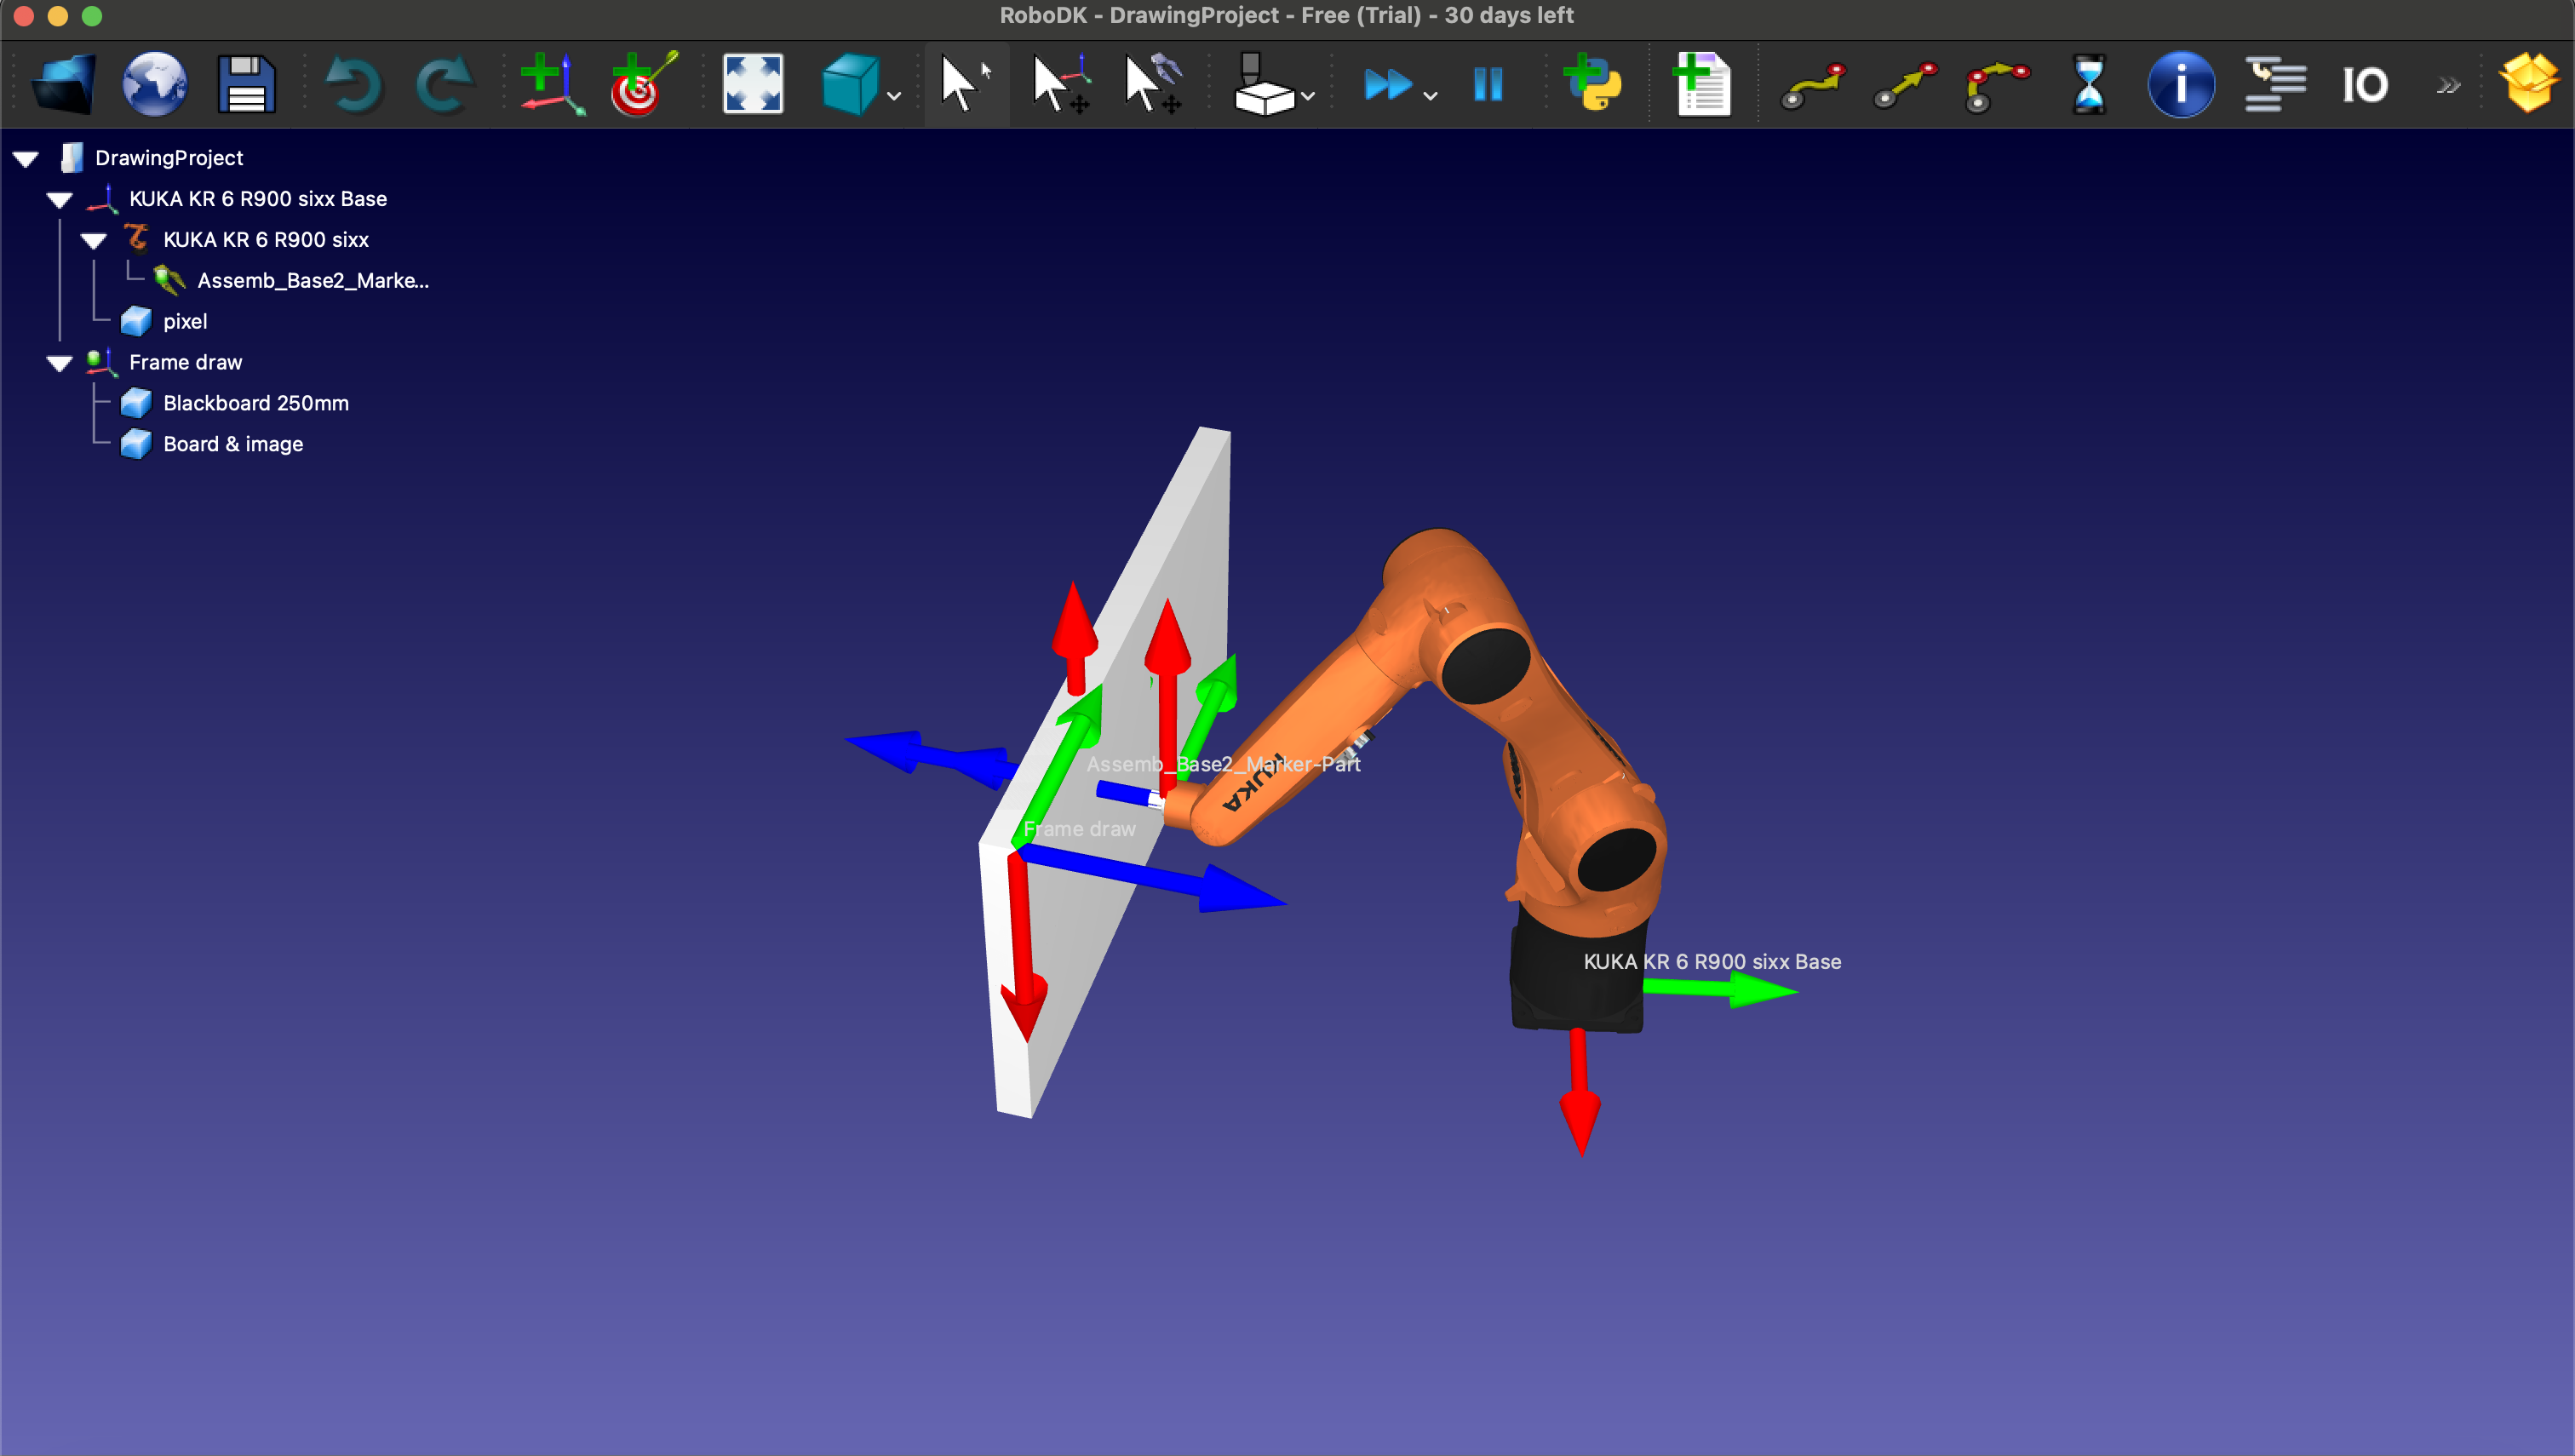
Model a tool
To improve the accuracy of simulating the drawing procedure, we decided to use a drawing software called FreeCAD to design a marker pen. By following a series of beginner tutorials, we learned the basics of FreeCAD, such as creating sketches, chamfering selected edges, and creating pockets with selected sketches, among other essential techniques.
Our plan to model the marker pen involves creating two separate components: the Base and the Marker Pen.